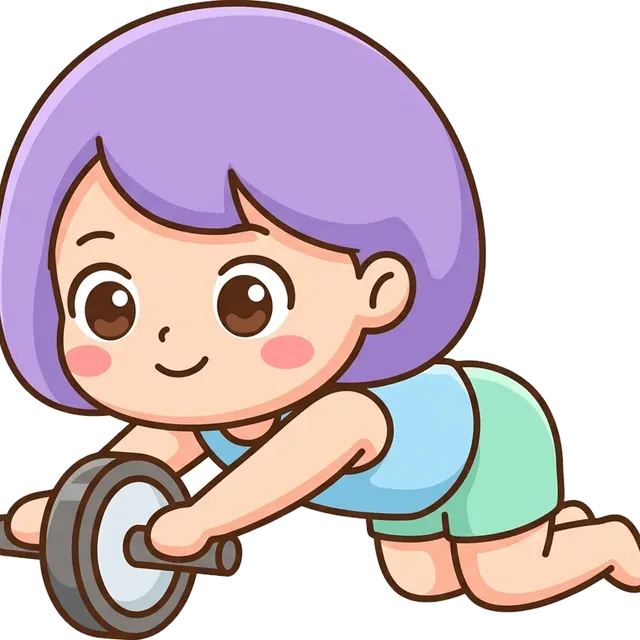
How to Do the Jump Rope
![]() By Zachary, builder of Mariposas · Reviewed against published exercise-science sources (references)
· Last updated June 2026
By Zachary, builder of Mariposas · Reviewed against published exercise-science sources (references)
· Last updated June 2026
Jump rope is one of the few conditioning tools that trains rhythm, coordination, and cardiovascular endurance simultaneously, and it does so while demanding real skill from your calves and shoulders in a way that most cardio machines simply don't replicate. The repeated plantar flexion required to clear the rope builds explosive calf strength and endurance that steady-state running rarely touches, and the constant rotation of the rope places a sustained, low-level demand on the shoulders that adds up fast over longer sets. Unlike a treadmill or stationary bike, jump rope forces you to stay mentally engaged, and that coordination challenge is a genuine athletic quality worth developing. You can log your jump rope sessions for free in the Mariposas app.

How to do it
- Stand with the rope handles in each hand and the rope resting behind your heels, feet roughly hip-width apart and weight distributed across the balls of your feet rather than flat-footed.
- Hold the handles out to your sides at about hip height, keeping your elbows slightly bent and tucked in close to your torso rather than flared wide.
- Initiate the rotation by making small circles with your wrists, not your whole arm, so the rope swings up and over your head in a controlled arc.
- As the rope approaches the floor in front of you, push off the balls of both feet with a small, controlled hop of two to four inches, just enough clearance for the rope to pass underneath.
- Land softly on the balls of your feet with a slight bend in the knees, absorbing impact through your lower leg rather than crashing down onto flat feet or locking out your legs.
- Keep your gaze forward and your torso upright throughout, resisting the urge to look down at the rope or to hunch your shoulders up toward your ears.
- Maintain a steady tempo that matches your current fitness level, aiming for consistent rhythm over raw speed, and focus on keeping each jump the same height rather than varying your clearance.
- To finish a set, slow the rope naturally and let it come to rest rather than dropping it mid-rotation, which keeps the movement controlled and prevents tangling.
Form cues
- Wrists spin the rope, not your arms.
- Tiny hop, soft landing, every rep.
- Elbows stay close to your ribs.
- Shoulders down, chest open.
- Land on the ball of your foot, not your heel.
Common mistakes
- Jumping too high: many beginners hop six to eight inches off the ground to buy extra time, which dramatically increases impact and exhausts the calves quickly; focus on just enough clearance for the rope to pass and keep the hop small.
- Using arm swing instead of wrist rotation: flapping the elbows to turn the rope shortens the arc and throws off timing, making the rope unpredictable; keep the elbows pinned and let the wrists do the work.
- Looking down at the rope: dropping the chin disrupts posture, rounds the upper back, and loads the shoulders inefficiently; fix a point on the wall at eye level and trust your feet to find the timing.
- Landing flat-footed: slapping the entire foot down on each landing removes the spring that makes jump rope efficient and puts unnecessary stress on the ankle and knee; stay on the ball of the foot and let the calf act as a natural shock absorber.
- Starting too fast: beginners often sprint through the first 20 seconds and then fall apart; a sustainable tempo that you can hold for the full work interval builds the rhythmic endurance that makes jump rope useful as conditioning.
Why do the Jump Rope?
- The calves undergo hundreds of rapid loading and unloading cycles in a single set, which builds both the muscular endurance and the spring stiffness of the Achilles tendon complex in a way that most gym exercises don't replicate.
- Jump rope is highly portable and requires essentially no setup, making it a practical conditioning option that fits into warm-ups, finishers, or standalone sessions without occupying equipment.
- The shoulder musculature sustains continuous low-level work throughout every set, making jump rope a useful complement to upper body training days where you want cardiovascular stimulus without taxing the pressing or pulling muscles heavily.
- The coordination and rhythm demands of jump rope transfer well to sports and activities that require foot speed and timing, including boxing, basketball, and soccer.
- Because intensity is easily scaled by changing rope speed or jump style, jump rope can serve as both a low-intensity warm-up tool and a high-intensity conditioning finisher within the same training cycle.
Jump Rope variations
- Single-leg jump rope
- Hopping on one foot at a time dramatically increases the calf demand and challenges balance, making it a useful progression once two-foot timing is solid.
- Alternate-foot step (boxer skip)
- Shifting weight from foot to foot like a slow jog lowers the impact per leg and the skill requirement, making it a good regression for beginners still developing timing.
- Double unders
- Spinning the rope fast enough to pass under your feet twice per jump requires much higher wrist speed and explosive hip extension, and is typically used to increase conditioning intensity in a short time window.
- Slow-cadence jump rope
- Deliberately slowing the tempo and focusing on a soft, quiet landing makes this a useful warm-up tool for developing ankle stiffness and neuromuscular coordination before a lower-body session.
How to program it
Jump rope tends to appear either at the start of a session as a five-to-ten minute general warm-up, or at the end as a conditioning finisher in intervals ranging from 20-second bursts to continuous two-to-three minute rounds. Many coaches program it in work-to-rest formats like 30 seconds on and 15 seconds off when the goal is cardiovascular development. As a warm-up tool, a low-intensity cadence for three to five minutes raises heart rate and body temperature without pre-fatiguing the muscles needed for lifting. For conditioning-focused blocks, total volume tends to accumulate through multiple rounds rather than one continuous bout.
Jump Rope alternatives


FAQ
- How long does it take to learn jump rope if you've never done it?
- Most people can get through 10 to 15 consecutive jumps within a few practice sessions. The main hurdle is syncing the wrist rotation with the hop, and that timing clicks faster when you slow the rope down rather than try to speed through it. Practicing the wrist rotation without jumping first, then adding the hop, tends to shorten the learning curve.
- Is jump rope bad for your knees?
- Jump rope places load primarily on the ankle and calf complex rather than the knee, particularly when you land on the ball of your foot with a slight knee bend. Flat-footed landing and locking out the knee on impact are the patterns most associated with discomfort, so technique matters more than the tool itself.
- What length rope should I use?
- A common starting point is to stand on the center of the rope and pull the handles up: they should reach approximately armpit height. Beginners often benefit from a slightly longer rope because it gives more time to complete the jump before the rope arrives.
- Can jump rope replace running for cardio?
- Jump rope and running both elevate heart rate and develop cardiovascular capacity, but they load the body differently. Jump rope demands more from the calves and shoulders and is easier on the hip flexors, while running covers ground and loads the glutes and hamstrings more. Many athletes use both rather than treating one as a direct substitute.
- Why do I keep tripping on the rope even when I'm jumping high enough?
- Tripping usually comes from inconsistent wrist speed rather than jump height. If the rope slows mid-rotation, it arrives at the floor earlier than expected and catches your feet. Focus on keeping wrist rotation speed constant throughout the arc, and consider slightly slowing the overall tempo until the rhythm stabilizes.