How to Do the Knee Tuck
![]() By Zachary, builder of Mariposas · Reviewed against published exercise-science sources (references)
· Last updated June 2026
By Zachary, builder of Mariposas · Reviewed against published exercise-science sources (references)
· Last updated June 2026
The knee tuck is a deceptively simple move that does something most ab exercises can't: it loads the hip flexors and rectus abdominis simultaneously through a full shortening contraction, meaning both muscle groups have to work together to pull the knees toward the chest rather than taking turns. That double demand is what separates it from a crunch, which barely involves the hip flexors, and from a leg raise, which keeps the abs in a more isometric bracing role. The knee tuck compresses the torso-to-thigh angle hard, making it genuinely useful for building the lower-abdominal strength and hip flexor endurance that carry over to sprinting, climbing, and any athletic movement requiring fast knee drive. You can track every set in the Mariposas app for free.
How to do it
- Sit on the floor or a flat bench with your hands planted just behind your hips, fingers pointing forward, arms straight and slightly bent at the elbow to protect the joint.
- Lean back roughly 30 to 45 degrees so your torso is behind vertical, then lift both feet a few inches off the ground to place your abs and hip flexors under immediate tension before the rep even begins.
- Extend your legs forward until they are nearly straight, keeping your feet elevated the entire time so the muscles stay loaded through the full range.
- Exhale sharply and drive both knees toward your chest by contracting the abs and pulling with the hip flexors simultaneously, not just swinging the legs with momentum.
- At the top of the movement, your knees should be close to your chest and your lower back should round slightly into a posterior pelvic tilt, which signals that the abs have fully shortened.
- Pause for one count at peak contraction so you can confirm your abs are actually doing the squeezing and not just your hip flexors alone.
- Slowly extend the legs back to the start position over two counts, resisting the urge to let them drop or touch the floor, which would bleed tension out of the working muscles.
- Reset your brace and repeat, keeping the torso angle consistent throughout the set so you aren't rocking back and forth to generate momentum.
Form cues
- Pull the belly button in before the knees move.
- Round through the low back at the top, don't just hinge at the hips.
- Feet stay off the floor the whole set.
- Exhale on the pull, not after it.
- Control the extension, don't kick out.
Common mistakes
- Bouncing the torso back and forth to gain momentum: this turns the exercise into a rocking motion that offloads the abs entirely, fix it by slowing the eccentric to a two-count and keeping your shoulder angle steady throughout.
- Letting the feet tap the floor between reps: it feels like a natural reset but it removes tension from both target muscles, so keep an inch of clearance under the heels even at full extension.
- Only flexing at the hip and ignoring lumbar flexion: if your lower back stays flat or arched at the top, the abs never fully shorten, consciously cue a slight posterior pelvic tilt as the knees arrive at the chest.
- Holding the breath through the rep: this spikes intra-abdominal pressure in a way that can reduce core muscle activation, exhale during the pull and inhale on the way back out.
- Gripping the bench or floor so hard the arms take load: this is especially common when fatigue sets in, but it signals the abs and hip flexors are no longer doing the work, lighten the load or reduce reps instead of compensating.
Why do the Knee Tuck?
- The simultaneous demand on the abs and hip flexors builds the coordinated strength that directly transfers to knee-drive speed in sprinting and cycling, where those two muscle groups fire together under load.
- Because the range of motion brings the knees all the way to the chest, the rectus abdominis gets a full shortening contraction that flat-back exercises like planks simply don't provide, making it a useful complement to anti-extension work.
- The bodyweight-only setup means it fits anywhere in a session or a home routine without needing equipment, which makes consistent volume easy to accumulate over time.
- The hip flexors, notoriously undertrained in standard ab circuits, get direct endurance work that supports posture and reduces the fatigue-related anterior tilt that shows up during long runs or bike rides.
- As a single-joint isolation movement the learning curve is short, so beginners can accumulate meaningful training stimulus from the first session rather than spending weeks dialing in technique.
Knee Tuck variations
- Seated Knee Tuck (feet grounded briefly)
- A regression where the feet touch lightly between reps to reset tension, useful when a lifter doesn't yet have the hip flexor endurance to keep feet elevated for a full set.
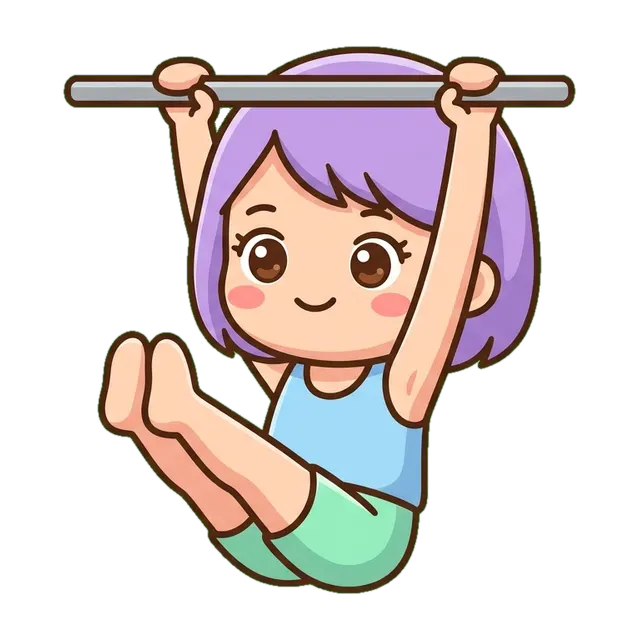
- Hanging Knee Tuck
- Performed on a pull-up bar, this version removes the hand support and forces the core to stabilize a freely hanging body, significantly increasing the challenge for lifters who have mastered the floor version.
- Stability Ball Knee Tuck
- Starting in a push-up position with feet on a stability ball and pulling the knees toward the chest adds a balance and anti-rotation demand that makes it a strong progression for functional core training.
- Weighted Knee Tuck (dumbbell between feet)
- Holding a light dumbbell between the feet adds resistance to the hip flexors during the extension phase and is commonly used when bodyweight reps no longer produce meaningful fatigue within the target rep range.
How to program it
The knee tuck tends to appear in the 12 to 20 rep range when people use it for muscular endurance, though sets of 8 to 12 are common in strength-focused ab blocks where a brief pause at peak contraction is included. It typically shows up at the end of a lower-body or full-body session rather than as an opener, since fresh hip flexors and abs aren't required for the compound lifts that precede it. Some programs pair it with a plank or dead bug to alternate between dynamic and isometric core demands within the same circuit. Rest periods of 30 to 60 seconds are common given the relatively small muscle mass involved.
Knee Tuck alternatives


FAQ
- Is the knee tuck a good ab exercise or just a hip flexor exercise?
- Both muscles are genuinely working. The key is making sure you get a slight posterior pelvic tilt at the top of the rep so the abs fully shorten. If you feel it only in the front of your hips and nothing in your lower abdomen, you're probably stopping the range of motion too early.
- Why do my hip flexors cramp during knee tucks?
- Cramping usually means the hip flexors are fatigued or working in an unusually shortened position they're not accustomed to. Shortening the range slightly and building volume gradually over several weeks typically resolves it. Staying well hydrated also helps, since cramping is more likely when electrolytes are low.
- Can I do knee tucks every day?
- Like any direct muscle training, daily volume tends to accumulate fatigue faster than adaptation, especially in the hip flexors which are slow to recover. Many people find that two to four sessions per week with a day between gives enough frequency without the soreness that makes other movements feel off.
- What's the difference between a knee tuck and a reverse crunch?
- In a reverse crunch you're typically lying on your back and lifting the hips off the floor by curling the pelvis upward. The knee tuck is usually done seated or hanging with the torso already inclined, which changes the leverage and puts both the abs and hip flexors under greater constant tension throughout the rep.
- How do I make knee tucks harder without adding weight?
- Slow the eccentric down to three or four counts, add a one or two second isometric hold at peak contraction, or move to the hanging variation. Each of those changes increases time under tension or stability demand without requiring any equipment beyond what you already have.